The Unreal Engine 5 Motion Data Application Process
Unreal Engine5
A game engine developed by Epic Games that is a tool for creating high-quality 3D content and rendering it in real time.
It's used not only for game development, but also for movies, architecture, simulation, and more.
How to install Unreal Engine
1. Visit the Unreal Engine home page. Link to the homepage : https://www.unrealengine.com/ko
2. Click Downloads in the upper-right corner of the home page or Download Unreal Engine in the lower-left corner.
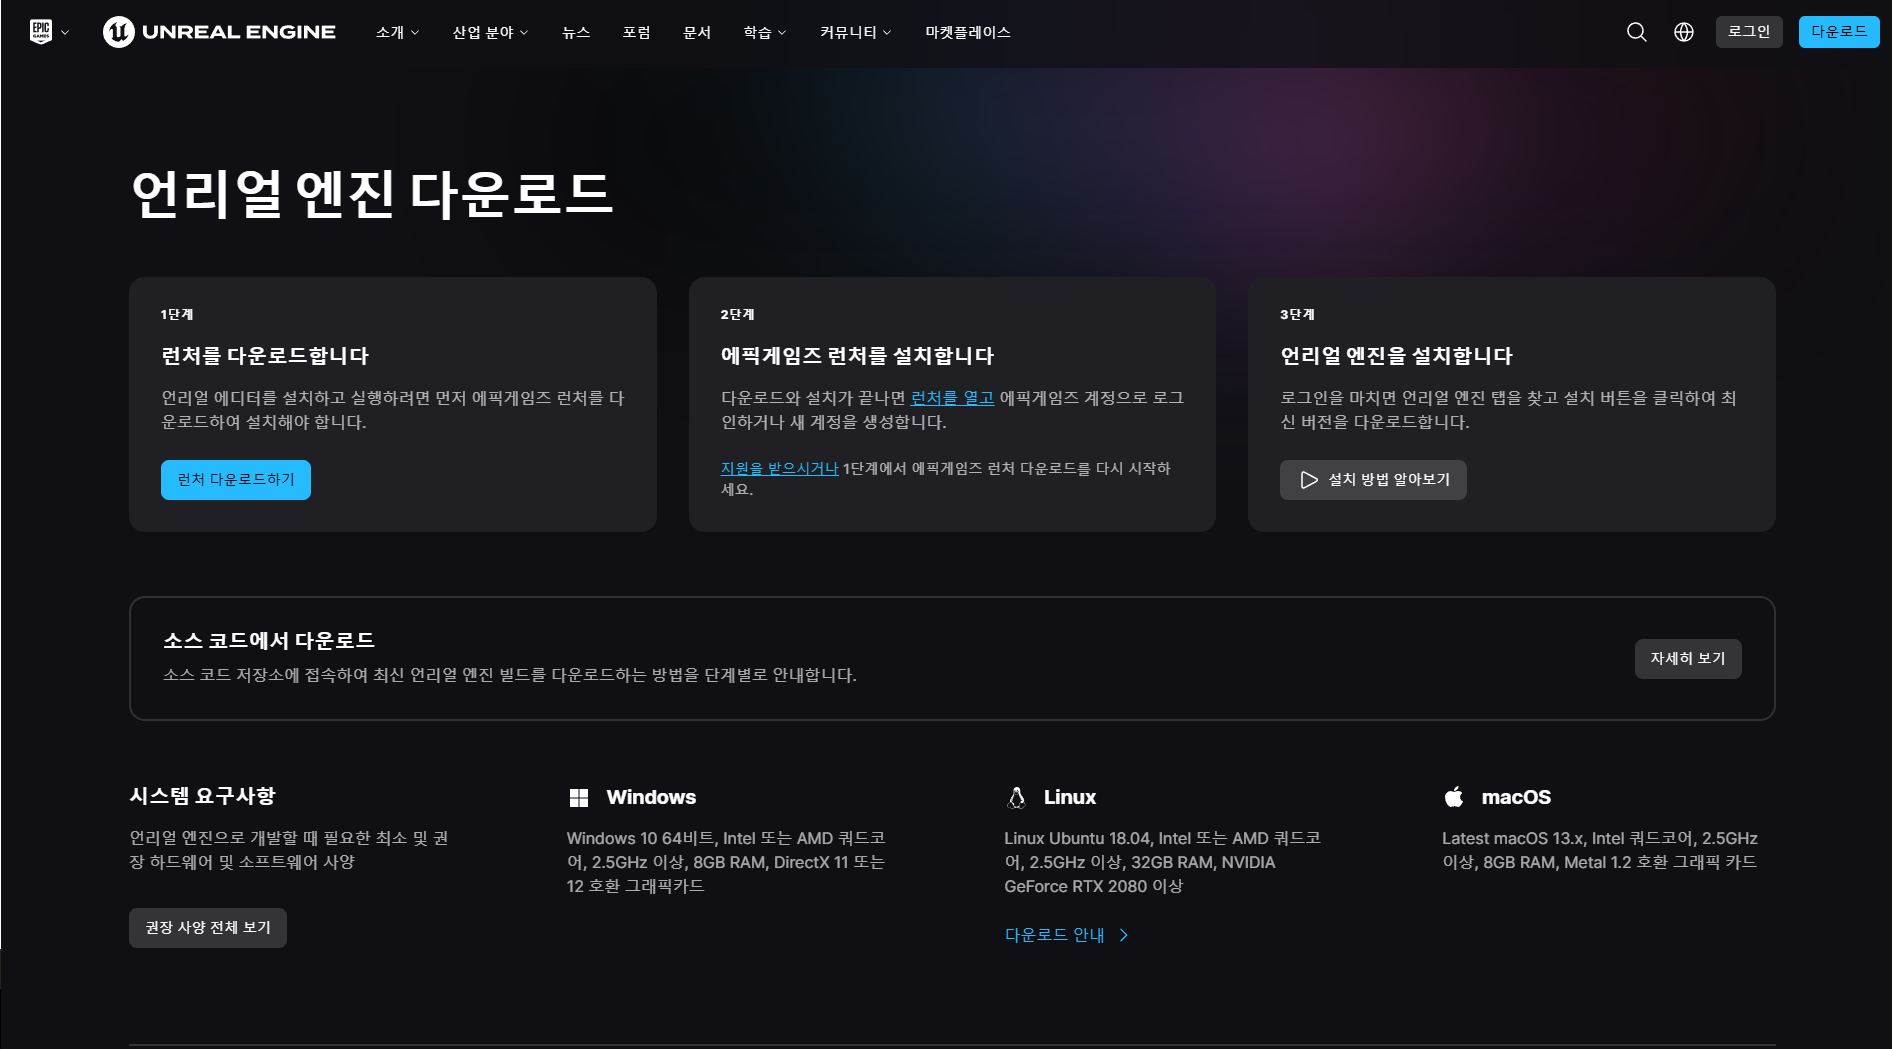
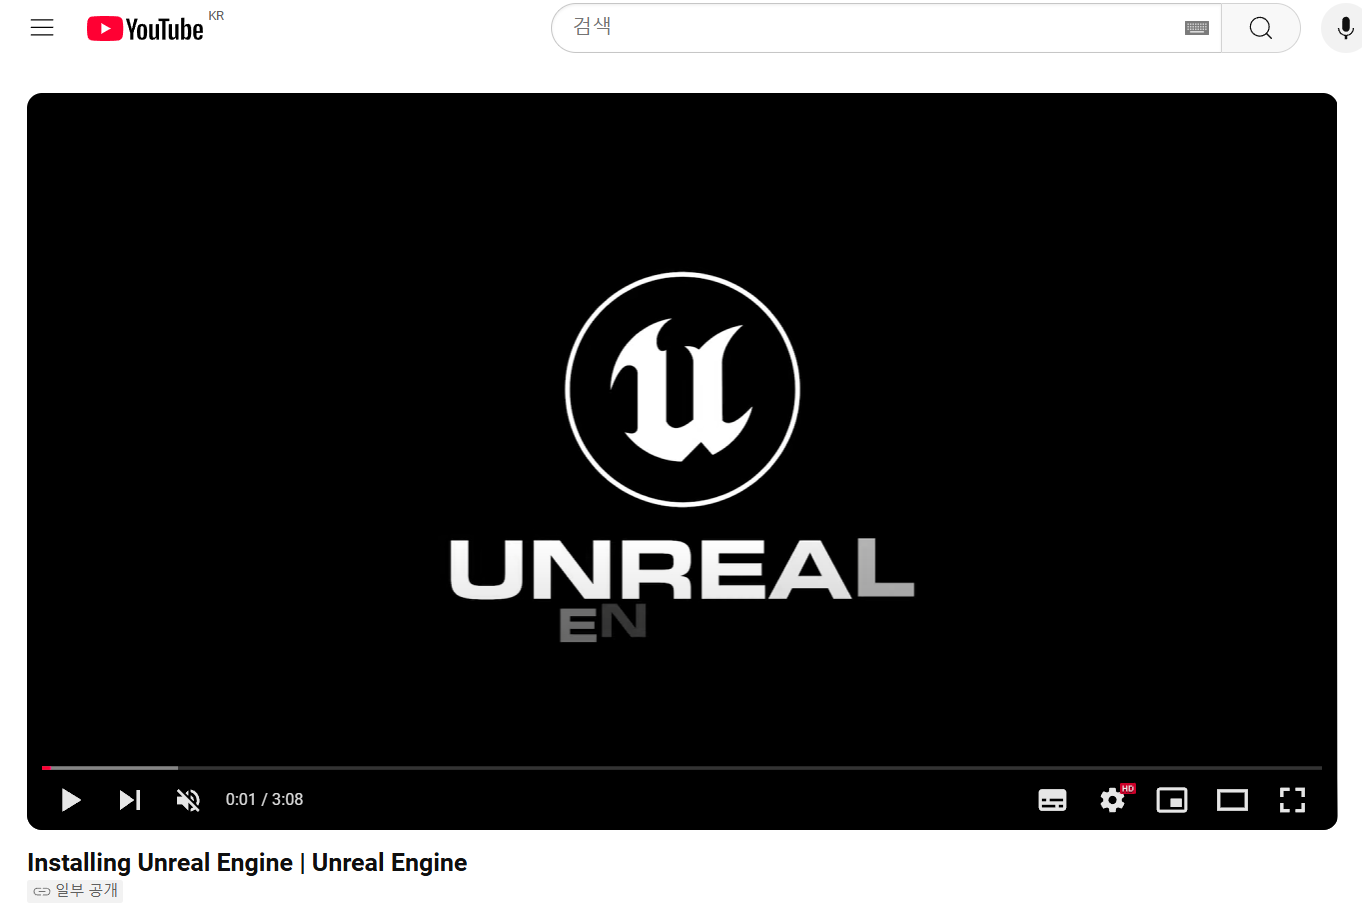
3. In the Download Unreal Engine window, go through Step 1, Step 2, and Step 3, and then click Learn how to install to watch a video on YouTube to guide you through the installation.
How to Import Motion Data
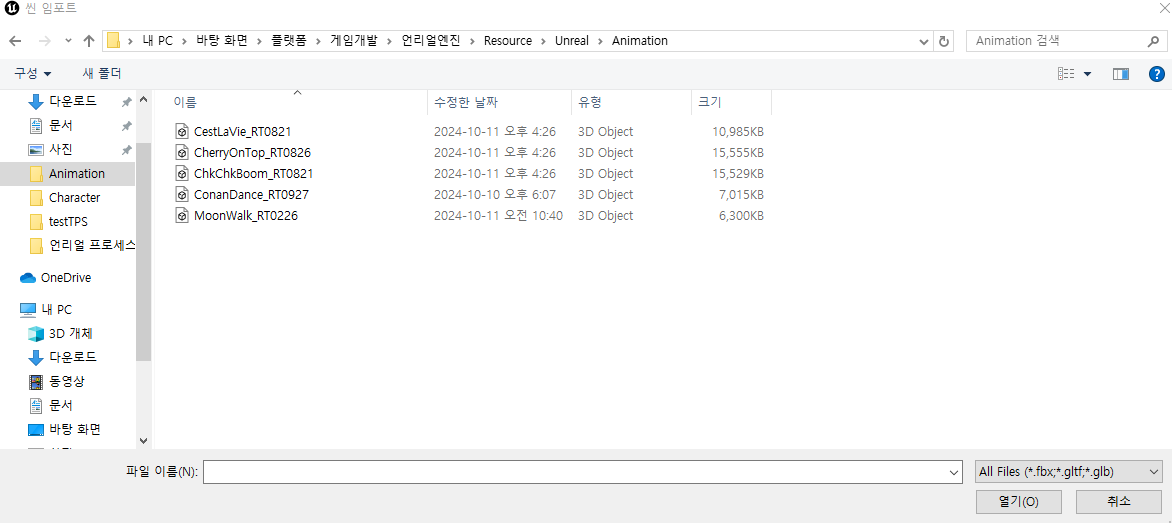
Drag And Drop Method
1. Drag and drop the FBX file into the Content Browser window using the mouse.
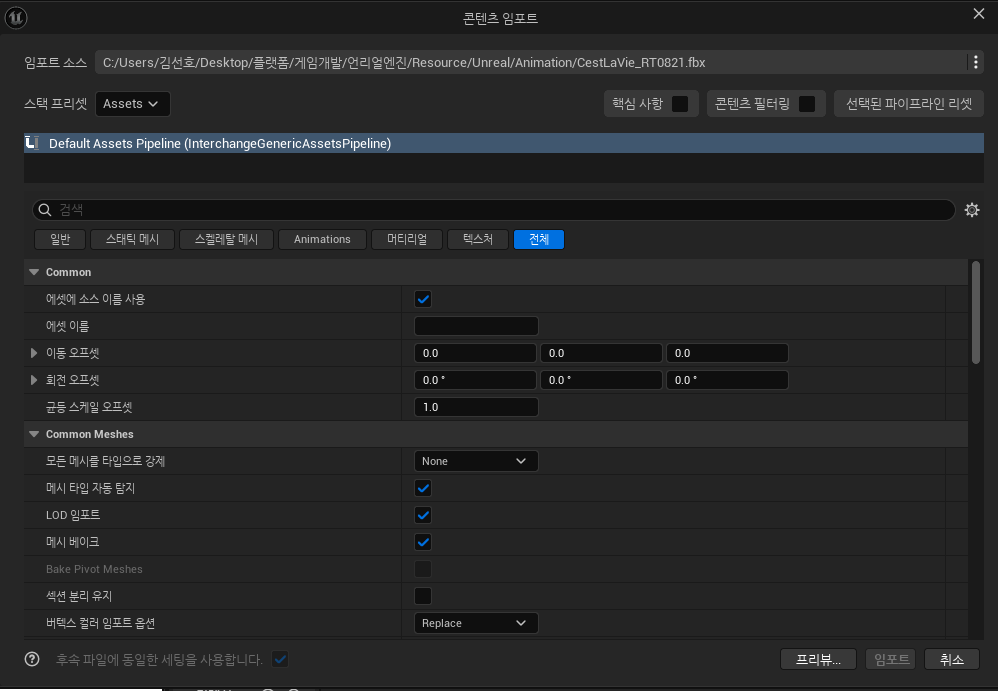
2. In the import window that is generated, insert the skeleton of the character you want to apply to the empty skeleton in Common Skeletal Meshes and Animation and import it.

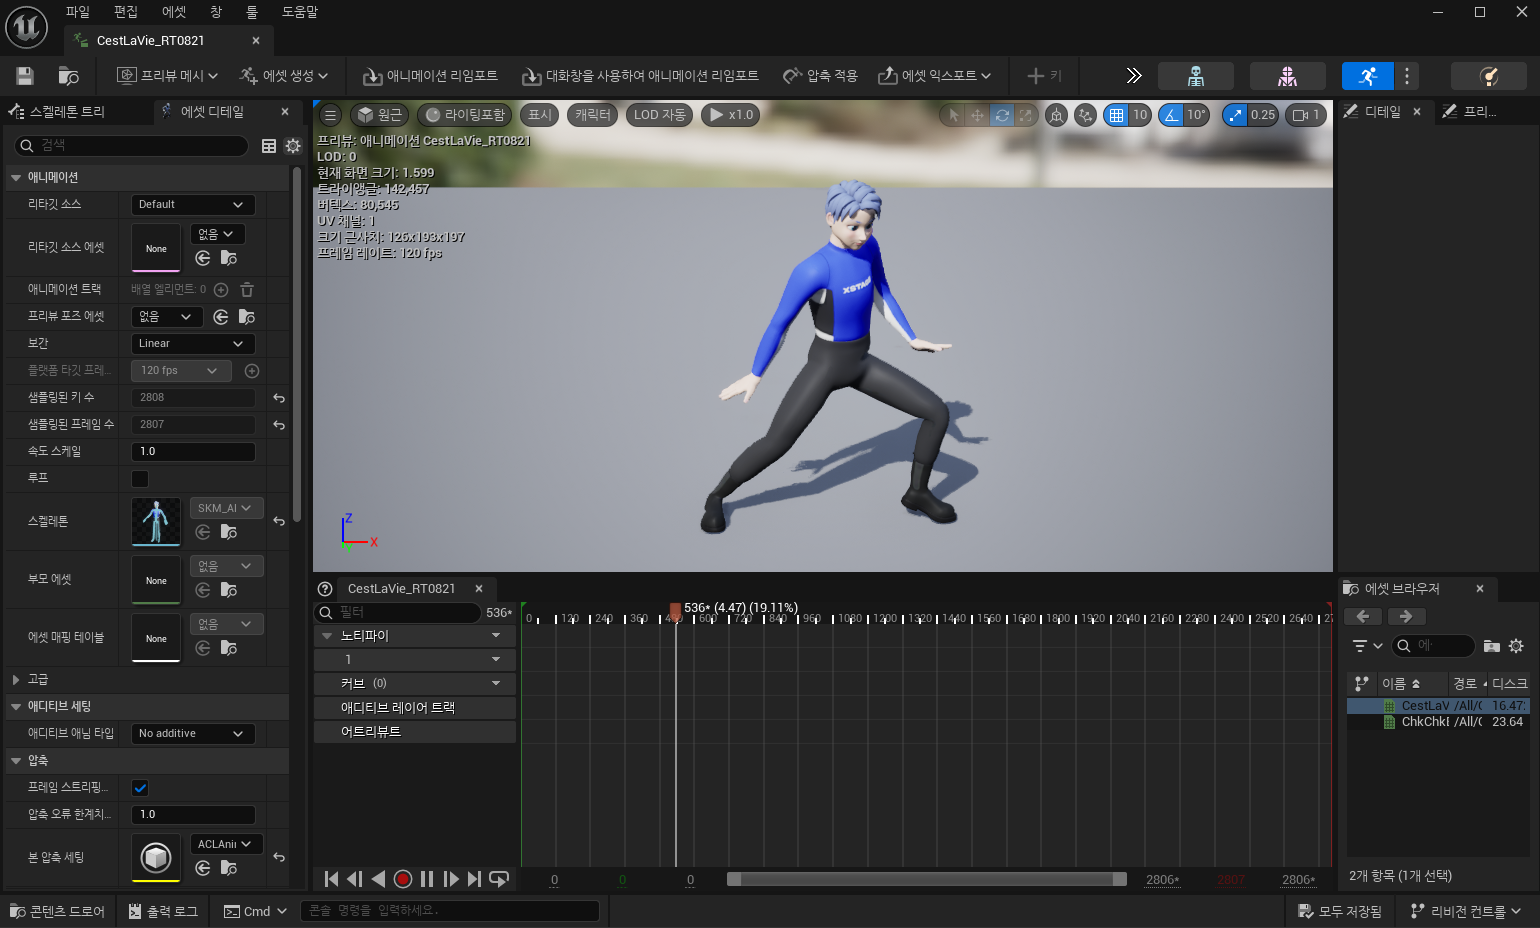
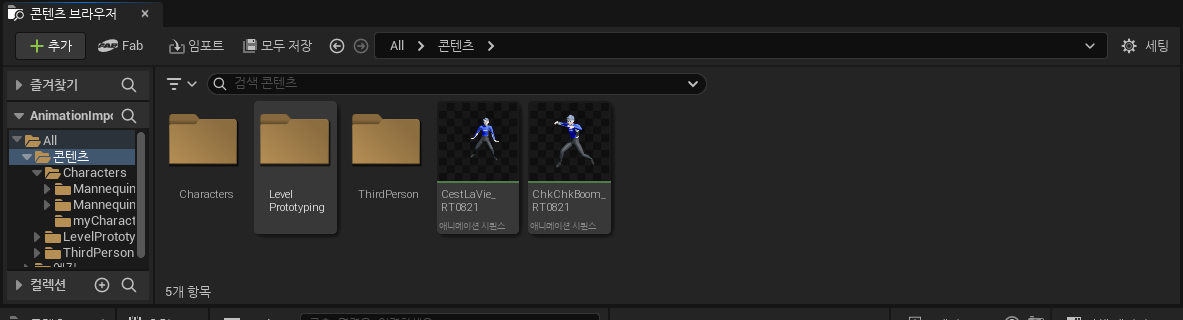
3. Verify that the animation has been imported.

4. Verify that the imported animation is working properly.
To Import from a Level
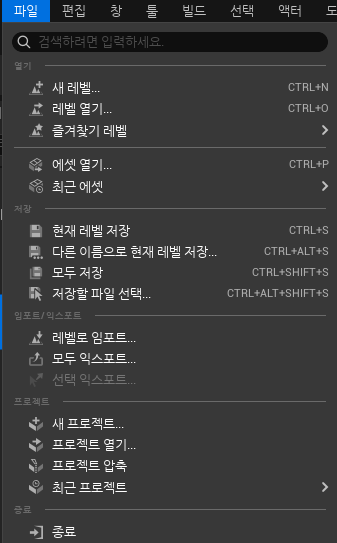
1. In the top-left File tab, click Import to Level
2. Select the animated FBX file you want to import, and then click Open.
3. In the import window that is generated, insert the skeleton of the character that you want to apply to the empty skeleton in Common Skeletal Meshes and Animation and import it.

4. Verify that the animation has been imported.
5. Verify that the imported animation is working properly.

How to Apply Animations
To animate with an Animation Blueprint
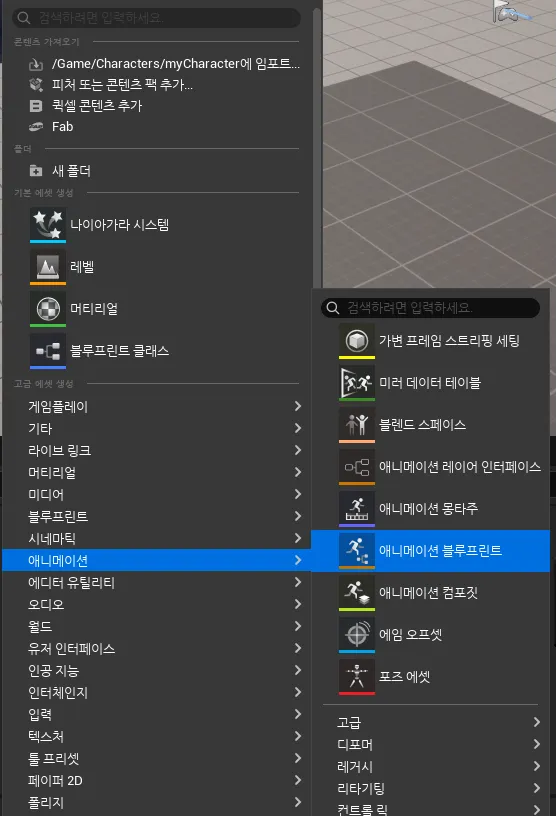
1. In the Content Browser, click Right-click > Animation > Animation Blueprint.
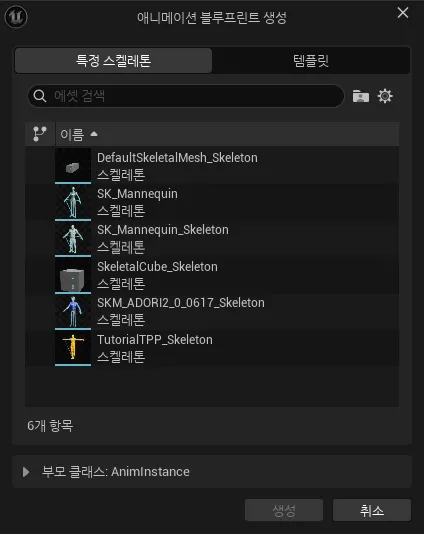
2. Select the Skeleton you specified when importing the animation and click the Create button.
3. Double-click the Animation Blueprint you created to open the Animation Blueprint window.
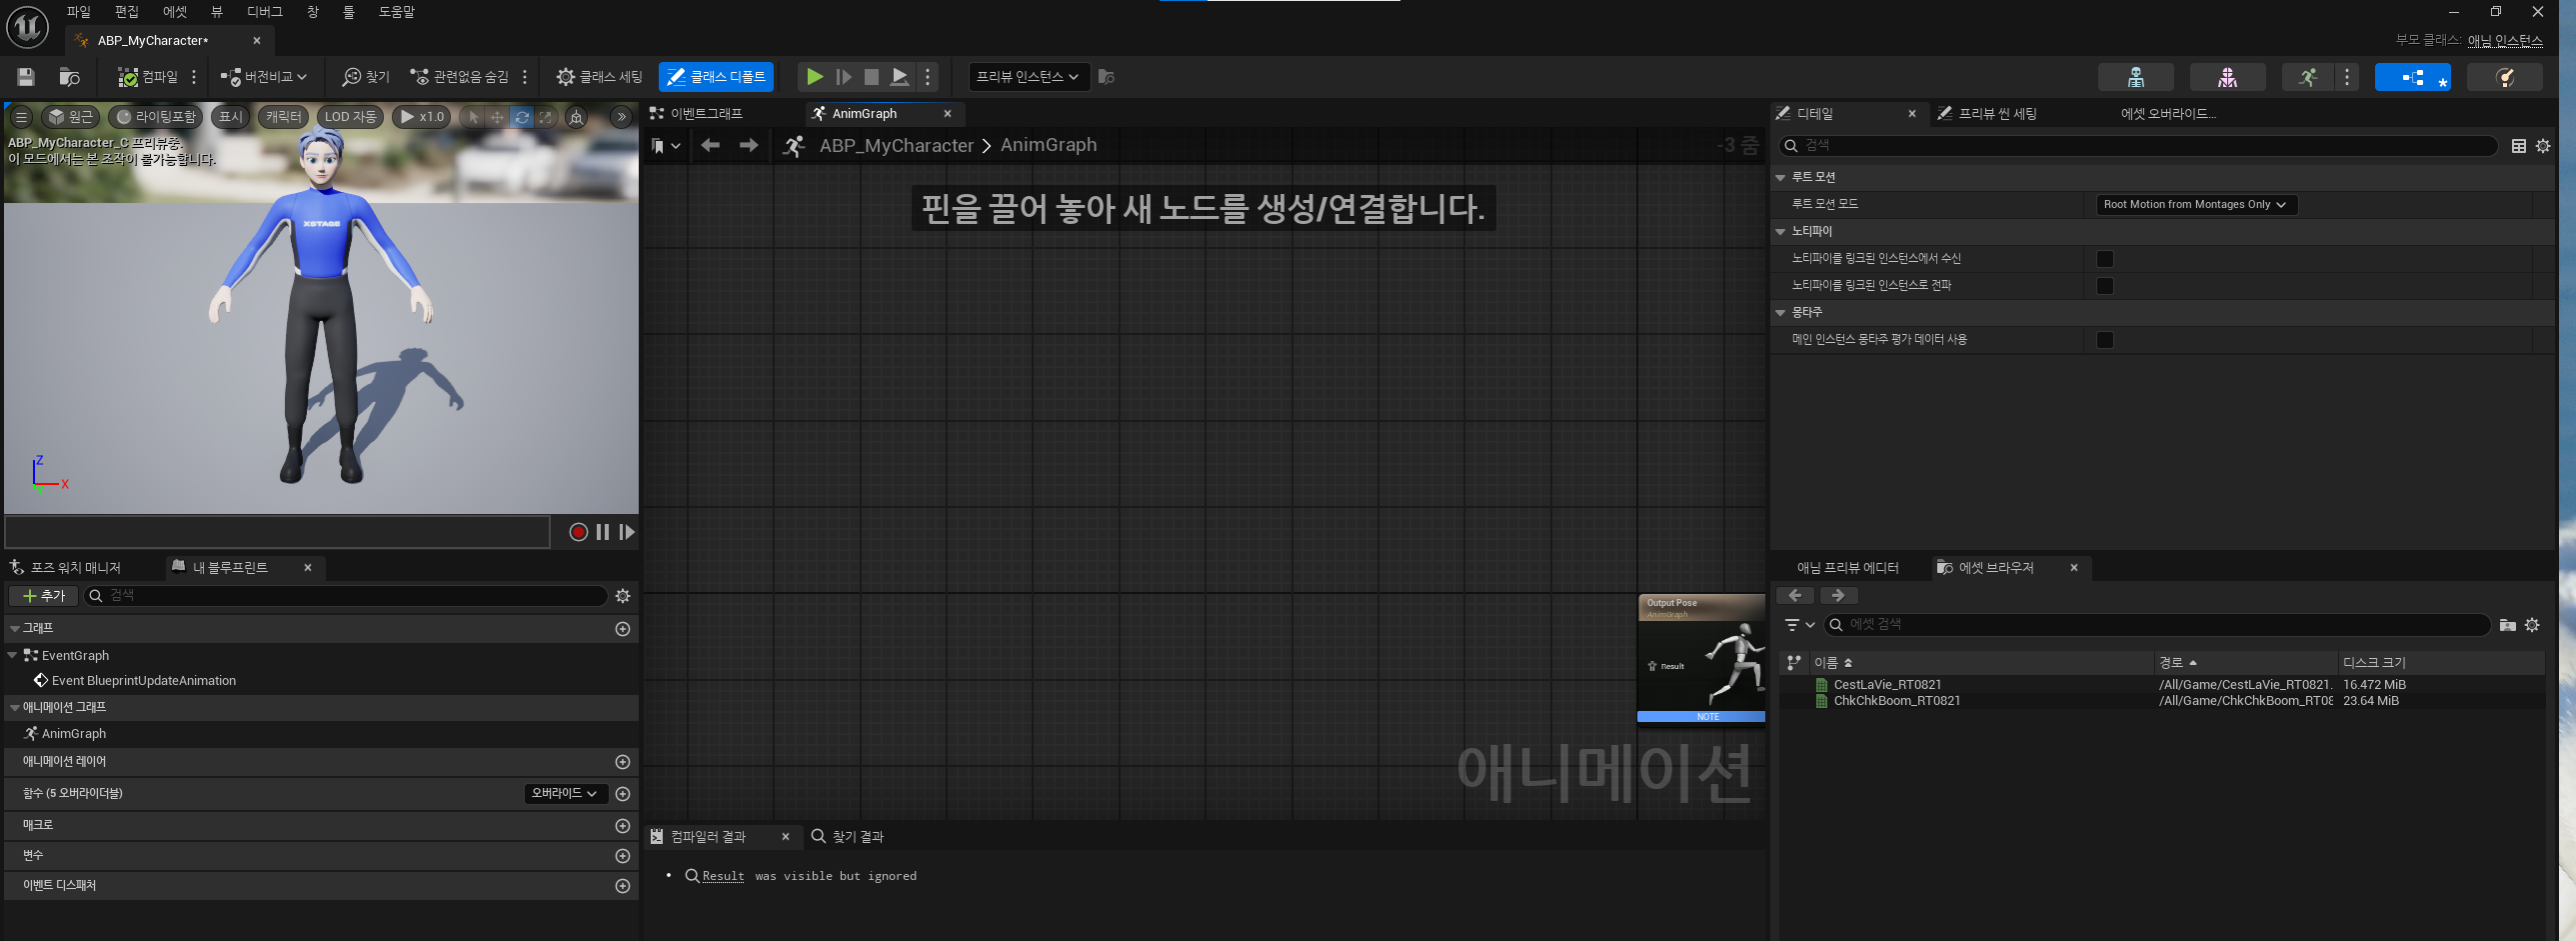
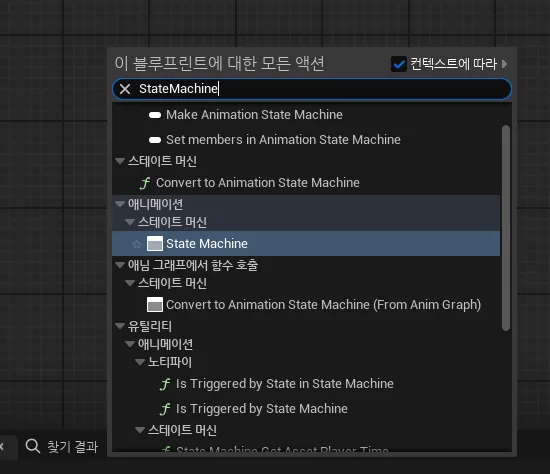
4. In the Animation Blueprint window, Right-click > Enter StateMachine in Context > Find and create a StateMachine.
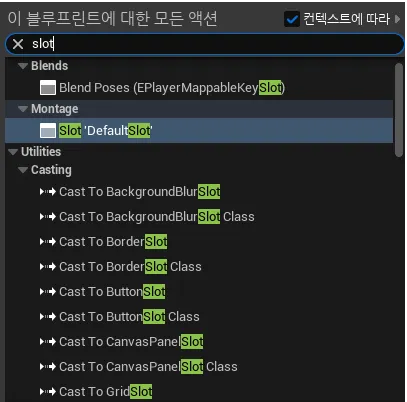
5. In the Animation Blueprint window, Right-click > Enter Slot in Context > Find and create the Slot 'DefaultSlot'.
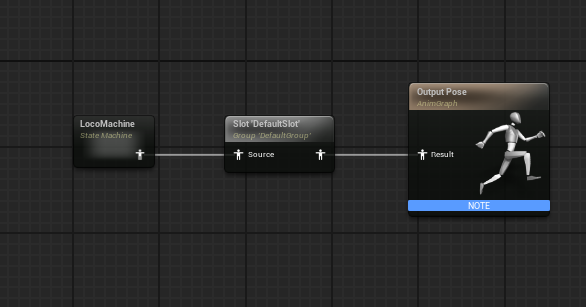
6. Connect the StateMachine and Slot you created to the Output Pose.
7. Double-click the StateMachine you created to open the State Machine window.
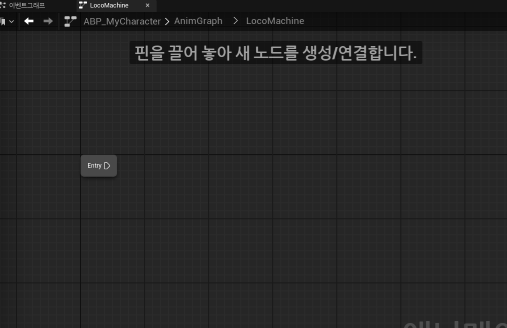
8. In the State Machine window, right-click > Add State.
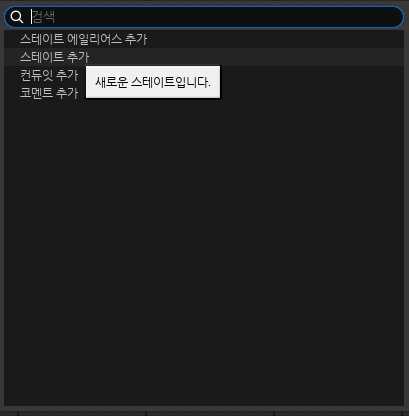
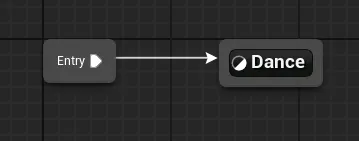
9. Name the added state and drag it from Entry to State.
10. Double-click the state you created to open the States window.
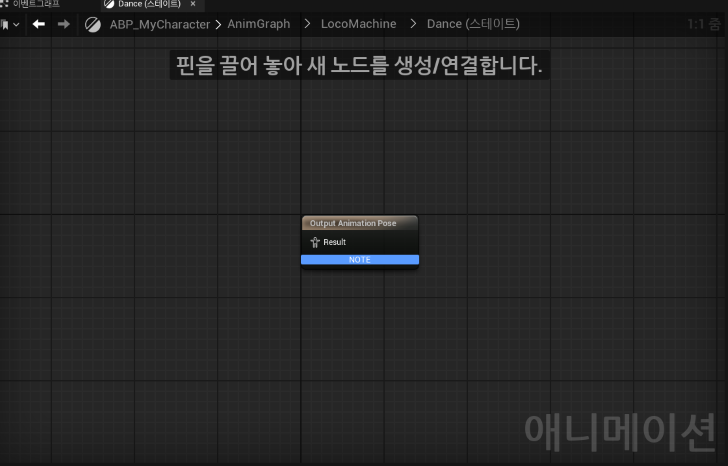
11. In the Asset Browser, view the Animation Sequence that you want to apply.

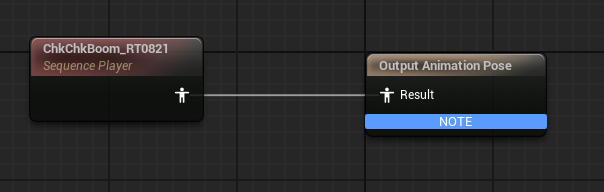
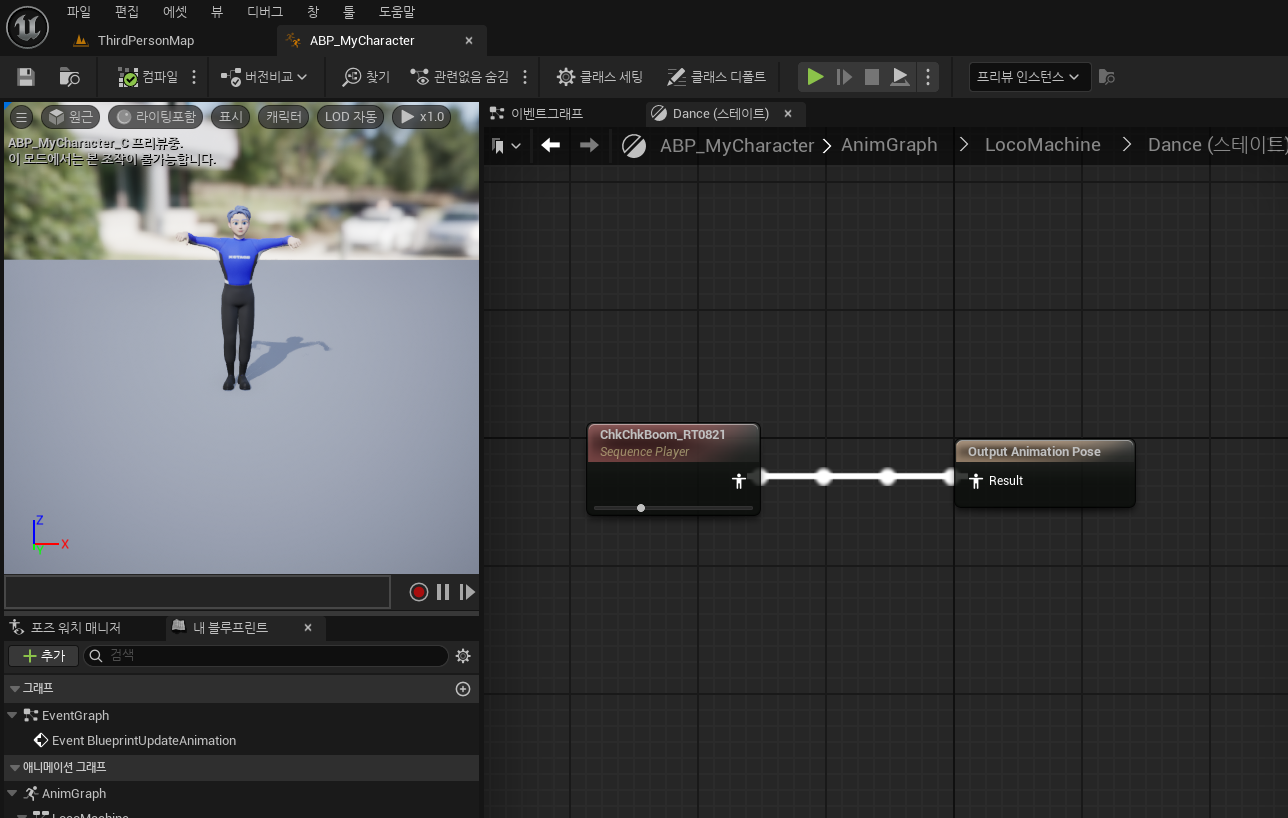
12. Drag and drop an animation sequence into the state window using the mouse to create a Sequence Player node.
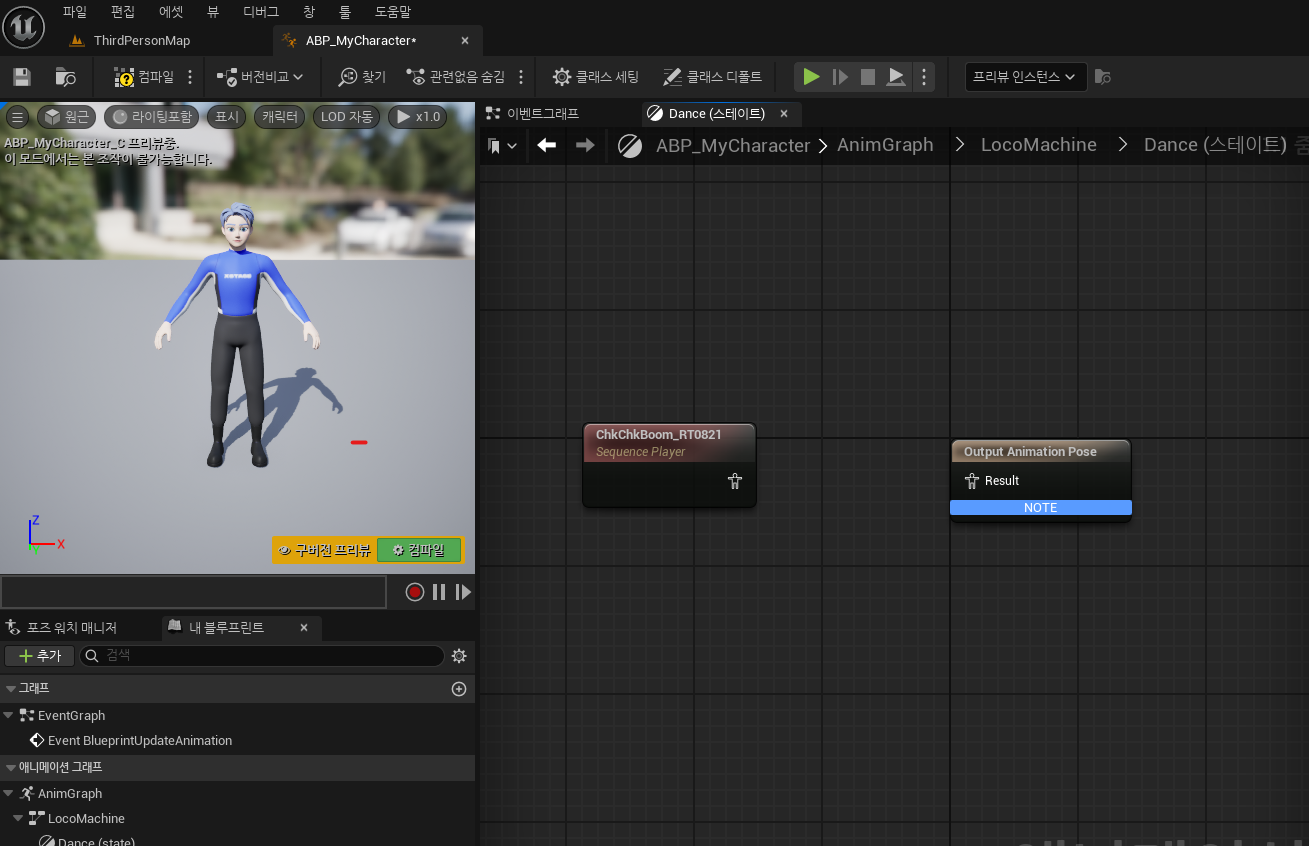
13. Drag from the generated Sequence Player to the Output Animation Pose and connect them.
14. Tap Compile and save.
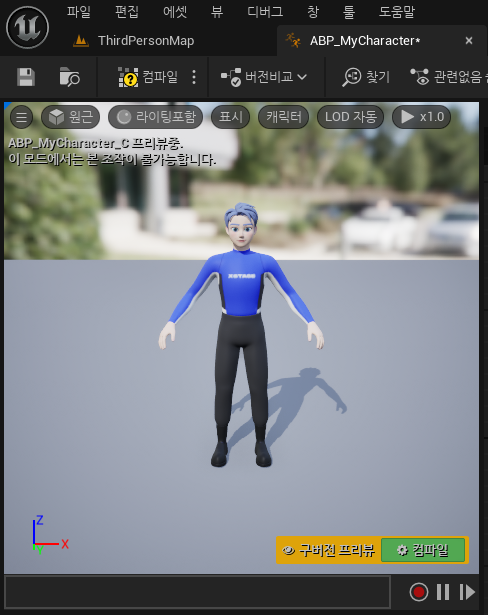
15. Verify that the animation works.
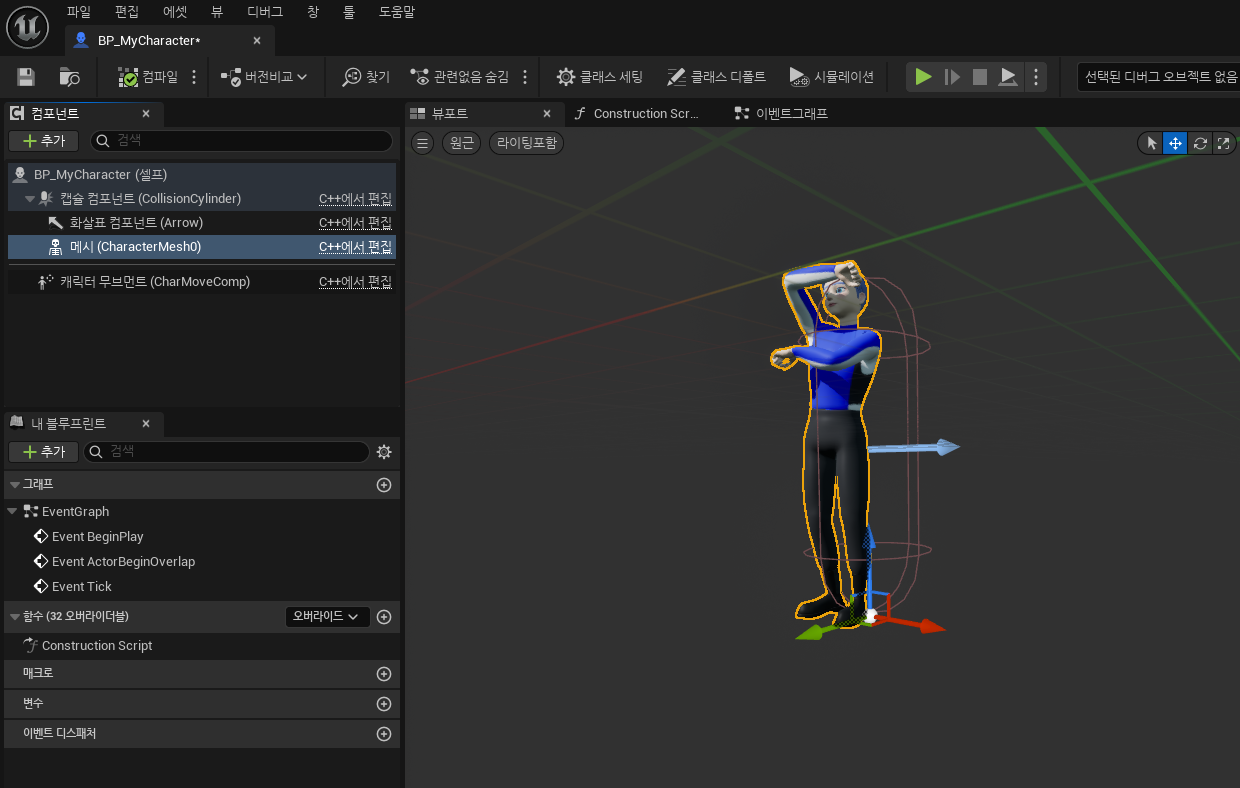
Applying Animation Blueprints to a Character
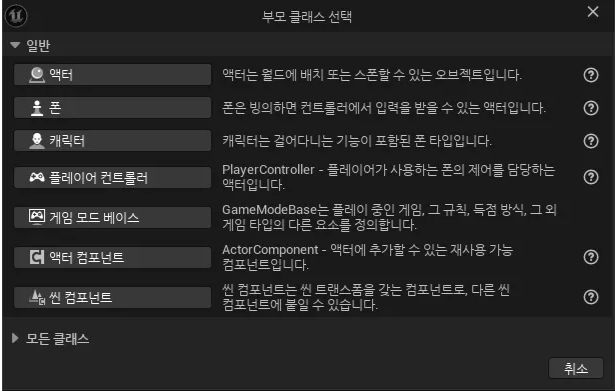
1. In the Content Browser, Right-click > Blueprint Class to open the Select Parent Class window.
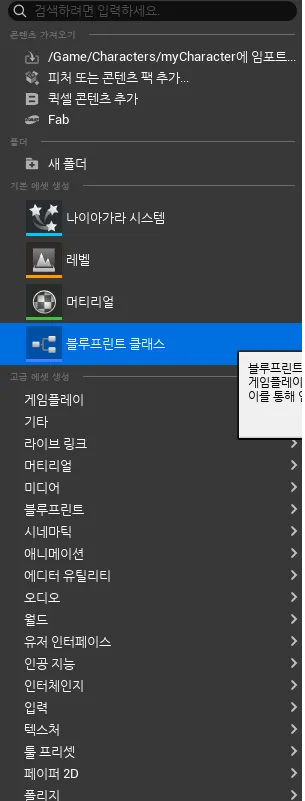
2. In the Select Parent Class window, click Character.
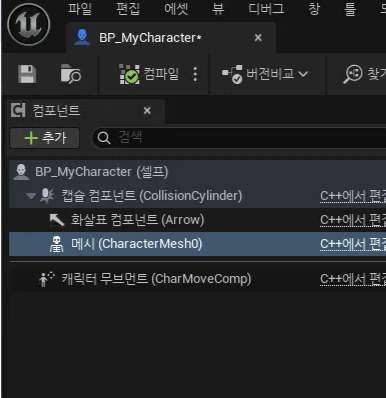
3. Double-click the Blueprint you created to open the Character Blueprint.
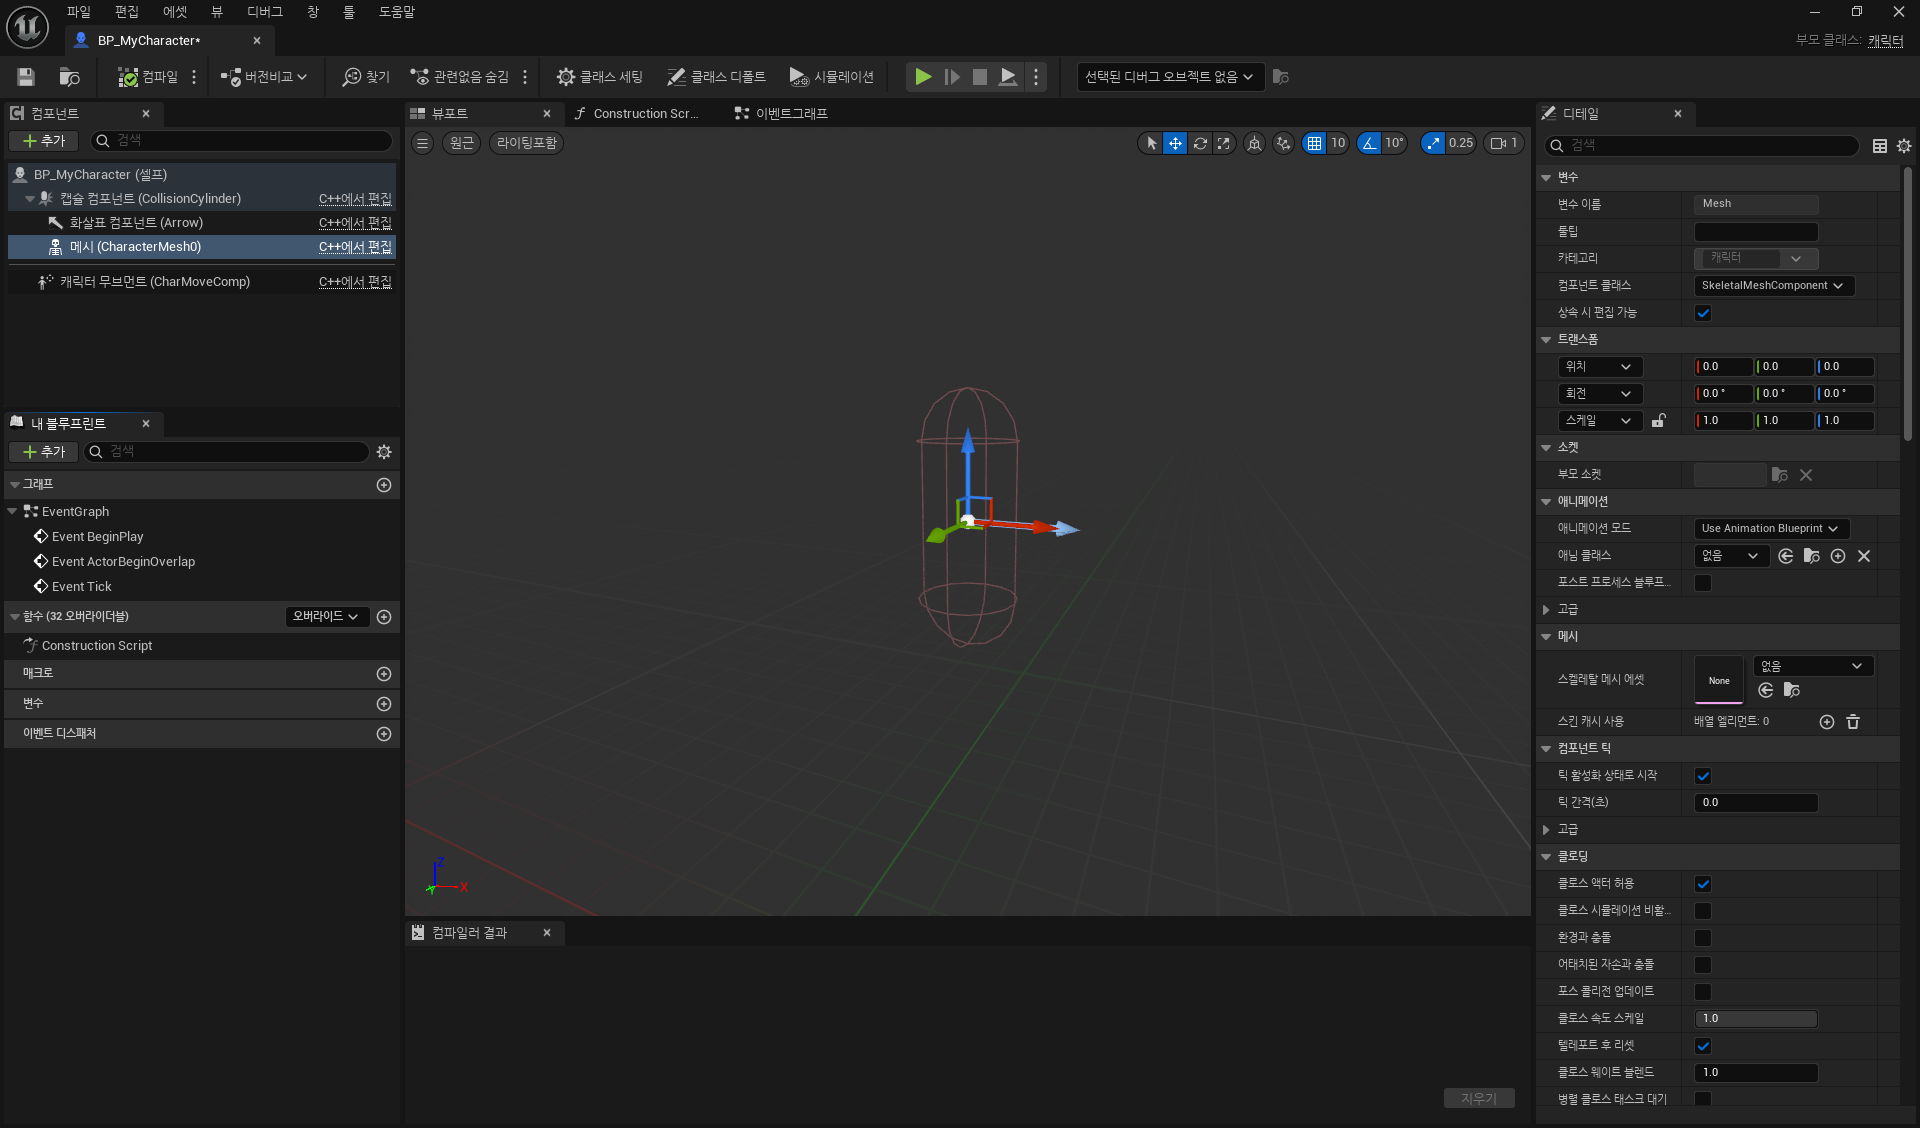
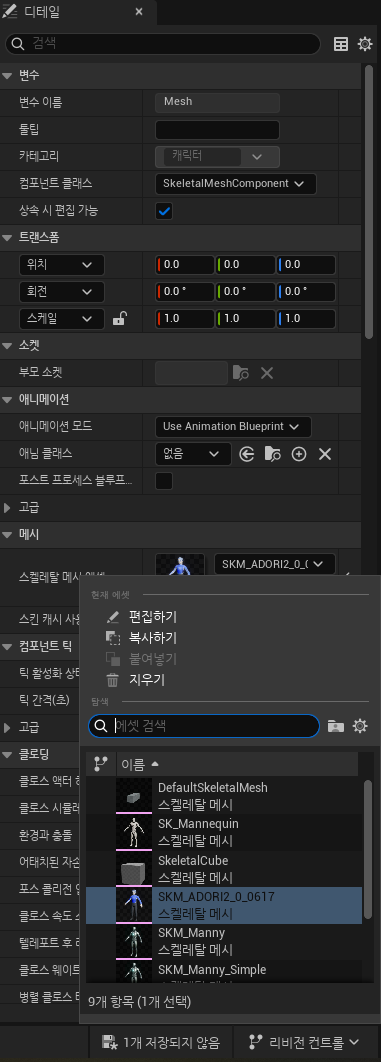
4. On the Details tab, under Mesh > Skeletal Mesh Asset, select the skeleton for the motion you want to apply.
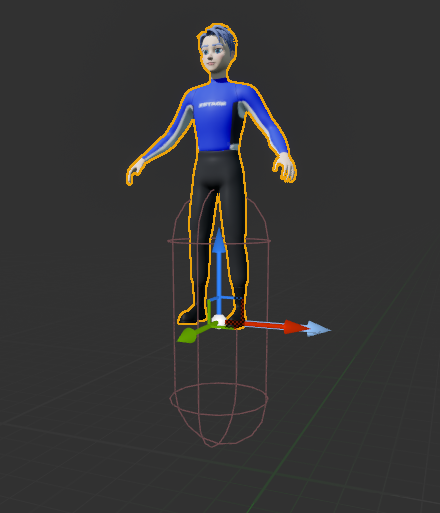
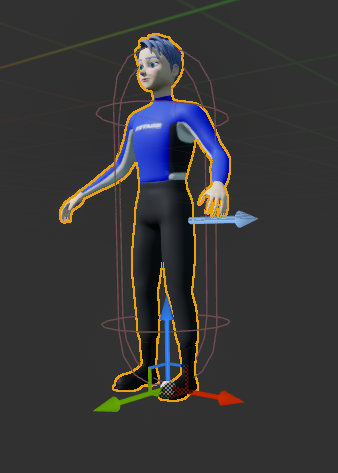
5. Reposition the Skeleton Mesh so that its feet are touching the bottom of the capsule.
Before
After
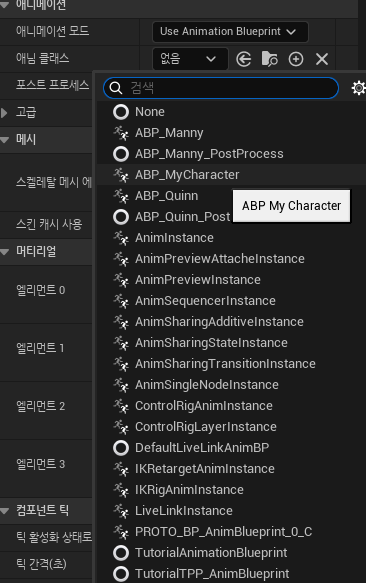
6. On the Details tab, change to the Animation Blueprint created above from Animation > Anim Classes.
7. compile and save.
8. Verify that the animation is working properly.